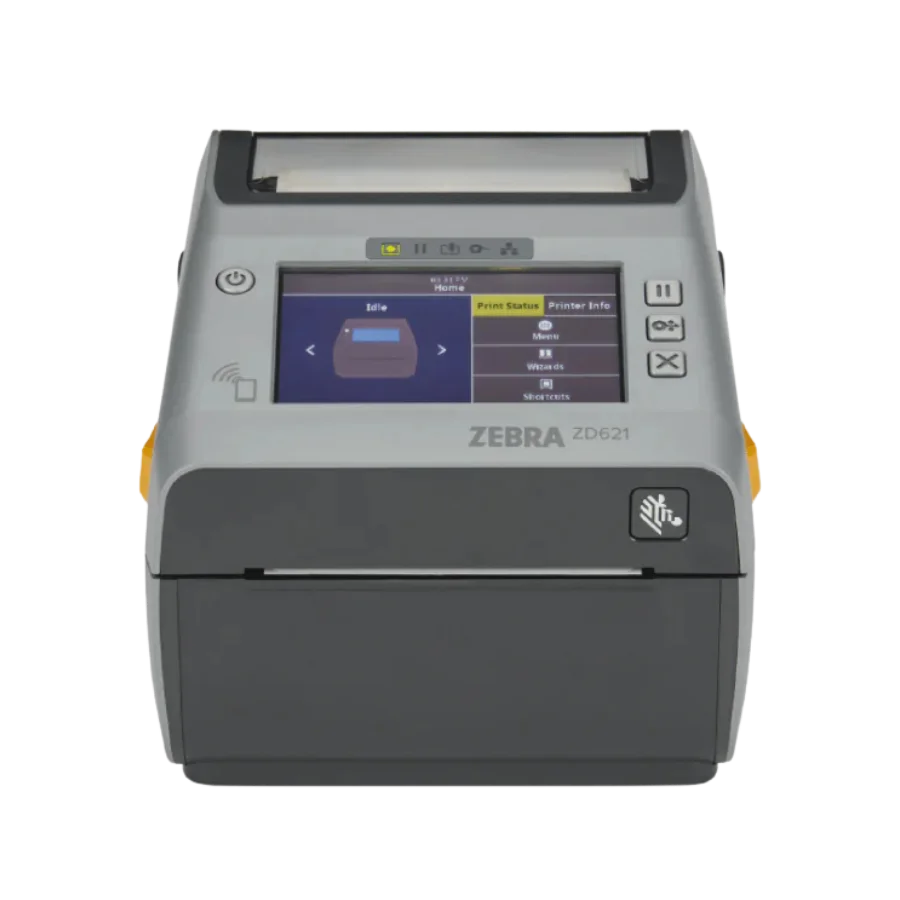
Zebra ZD621 Thermal Badge Printer
Step-by-step instructions to unbox, connect, load badge stock, and start printing. This guide covers the Zebra ZD621 Direct Thermal printer included with SGPad event equipment rentals.
Shipment Contents
- 1 × Zebra ZD621 Printer
- 1 × Ethernet Cable
- 1 × Power Adapter (2 parts)
- Badge Stock (as ordered)
Quick Setup
Connect the Power Adapter
Connect the power adapter (D) to the power cable (B). Plug the (A) end into the printer and the (C) end into a power outlet.
Connect to Your Network
Plug an Ethernet cable from your WiFi router’s LAN port into the Ethernet port on the back of the printer.
Install the Badge Stock
Open the printer by pulling the 2 yellow latches on each side. Pass the badge stock from the back of the printer through the yellow media guides on the inside, all the way to the front and through the cutter. Leave a small piece sticking out.
Close the Printer
Press the lid down until you hear a light snap. The LCD screen will show “Printer Paused”. Tap under the warning to dismiss it.
Power On
Push the power button on the left side of the printer’s display. The printer takes up to 20 seconds to boot. The LCD will display “Printer Ready” when it’s ready to print.
Wi-Fi Configuration
Open the Connection Wizard
From the screen, select Wizards → Connection.
Configure Wi-Fi Settings
Follow these selections through the wizard:
- Select Wi-Fi and tap the checkmark
- Accept the default ports 6101 & 9100
- Set IP Protocol to All or DHCP
- Set Wi-Fi Security to WPA PSK
- Enter the router’s WiFi password (provided with your rental)
- Set Wi-Fi Band to All
- Enter the router’s SSID (network name)
- Skip through the Bluetooth wizard
- Tap “End Wizard” and wait for connection
Set Up Badge Specifications
From the screen, select Wizards → Print → Start Print, then:
- Select Direct Thermal
- Set Media Type to match your badge stock (or Auto Detect)
- Set Media Handling to Cutter or Tear off
- The printer will Auto Calibrate
- Adjust Darkness and Print Speed if needed
Troubleshooting
| What if… | Solution |
|---|---|
| The printer does not power on? | Check that the power cable is plugged in firmly at both ends. Try a different wall outlet. Hold the power button for 3 seconds, then wait 20 seconds. |
| The screen goes off and status light pulses green? | The printer is in sleep mode. Tap the screen to wake it, all settings are preserved. |
| The status light is steady red? | Could mean: (1) Cutter malfunction, (2) Badge stock is out, or (3) The print head is open. Check all three. |
| Status light + pause light are blinking red? | The print head is overheated. Allow a few minutes to cool down before resuming. |
| Printer calibrates but stops after 1–2 badges? | Badge stock may be inserted in the wrong direction. Ensure the timing mark is at the leading edge, facing the direction the arrows point to. |
| Prints are faded or light? | Clean the print head with an alcohol wipe. Then go to Menu → Printer → Print Quality and increase the Darkness value. |
| Badge feeds but nothing prints? | Confirm the badge stock is inserted with the coated (printable) side up. Verify Direct Thermal is selected as the media type in printer settings. |
| The network light is red? | The printer is still connecting to Wi-Fi. Confirm the SSID and password are correct. Test the router with another device (e.g. iPad). |
Need Help During Your Event?
SGPad provides technical support for all rental equipment. Call or WhatsApp us anytime.